“Okay, but I am not good at getting my picture taken.”
These are the famous first lines of every session. Even I have used them when it was my turn to stand in front of the camera. Too often, photography is the necessary evil: We love the end product, but hate the process.
Well, hate no more!
In my decade of shooting, it has become clear that as individuals we hate getting our picture taken because we don’t have a system. As a photographer, I have tons a systems in place to be sure I get the same product every time I pick up my camera and provide the same wedding experience to each of my couples.
To love your photos, all you need is a system, too. You are probably thinking “Great, Kayla. So how do I set up one of these fancy-pants systems like you? I don’t know Photoshop or have a big camera like you. There is NO WAY I can do anything different.”
Oh, but my friend, you CAN. There are three things I KNOW you can do to improve your own photos.
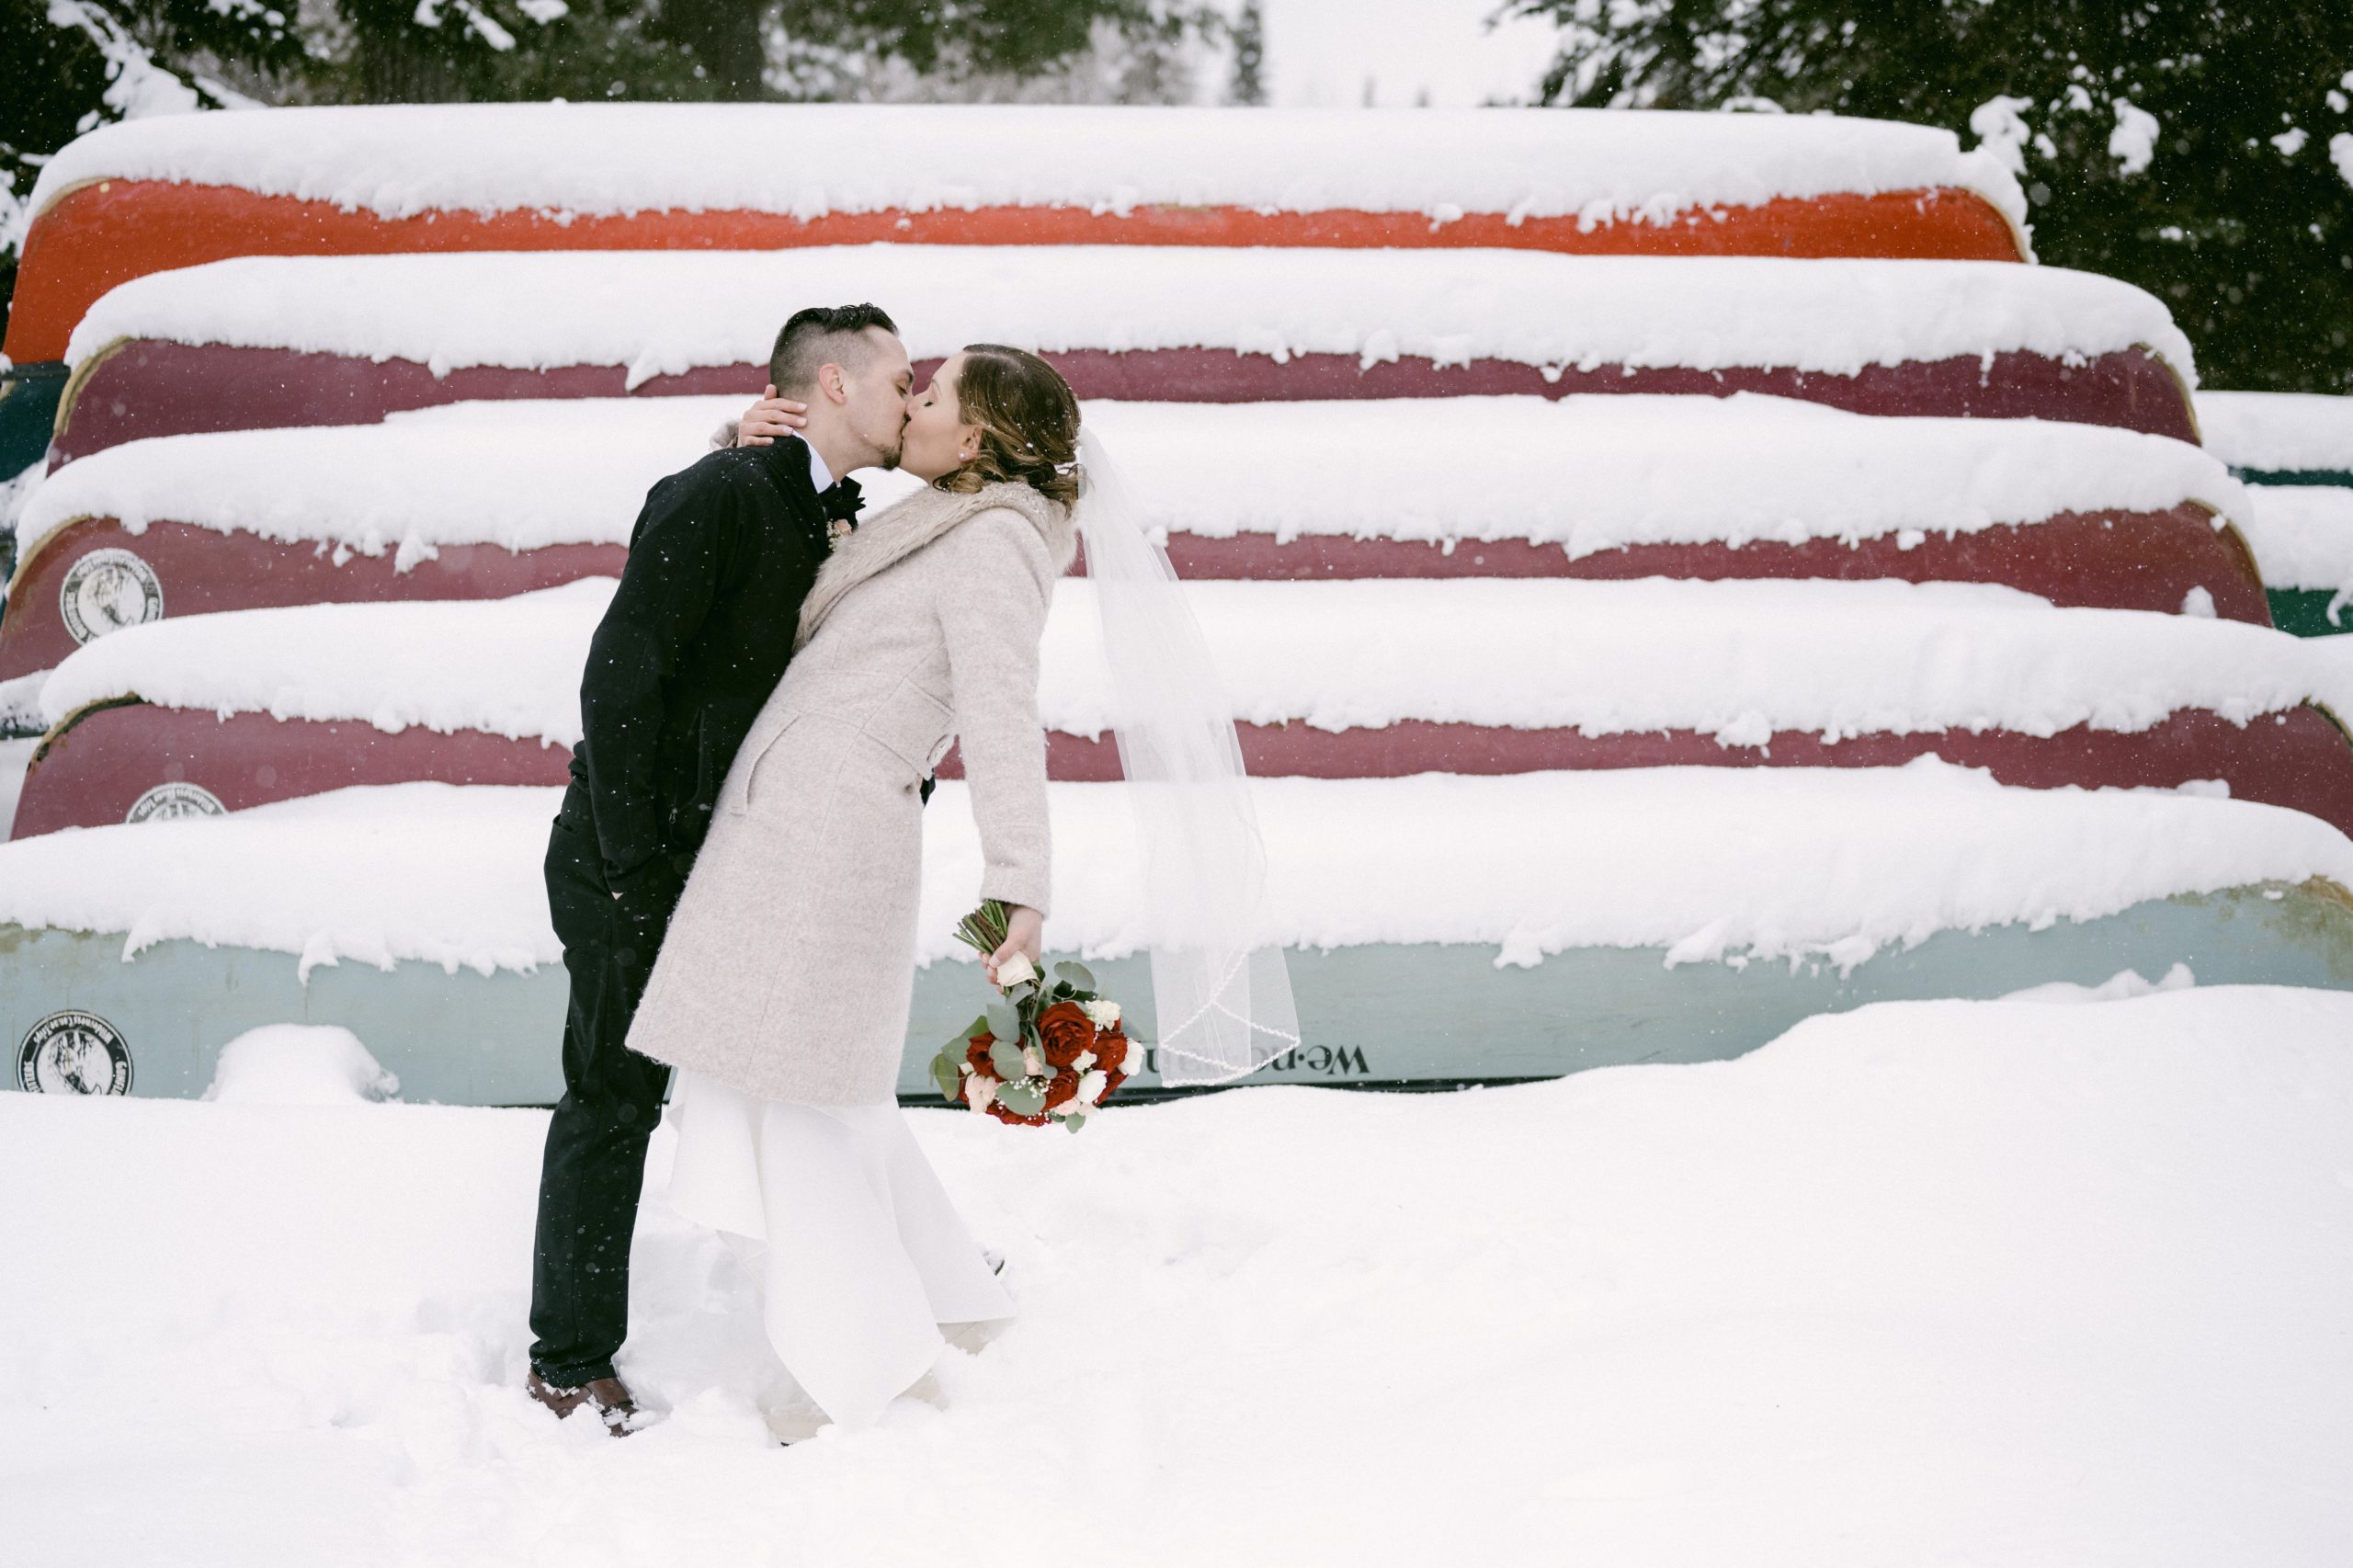
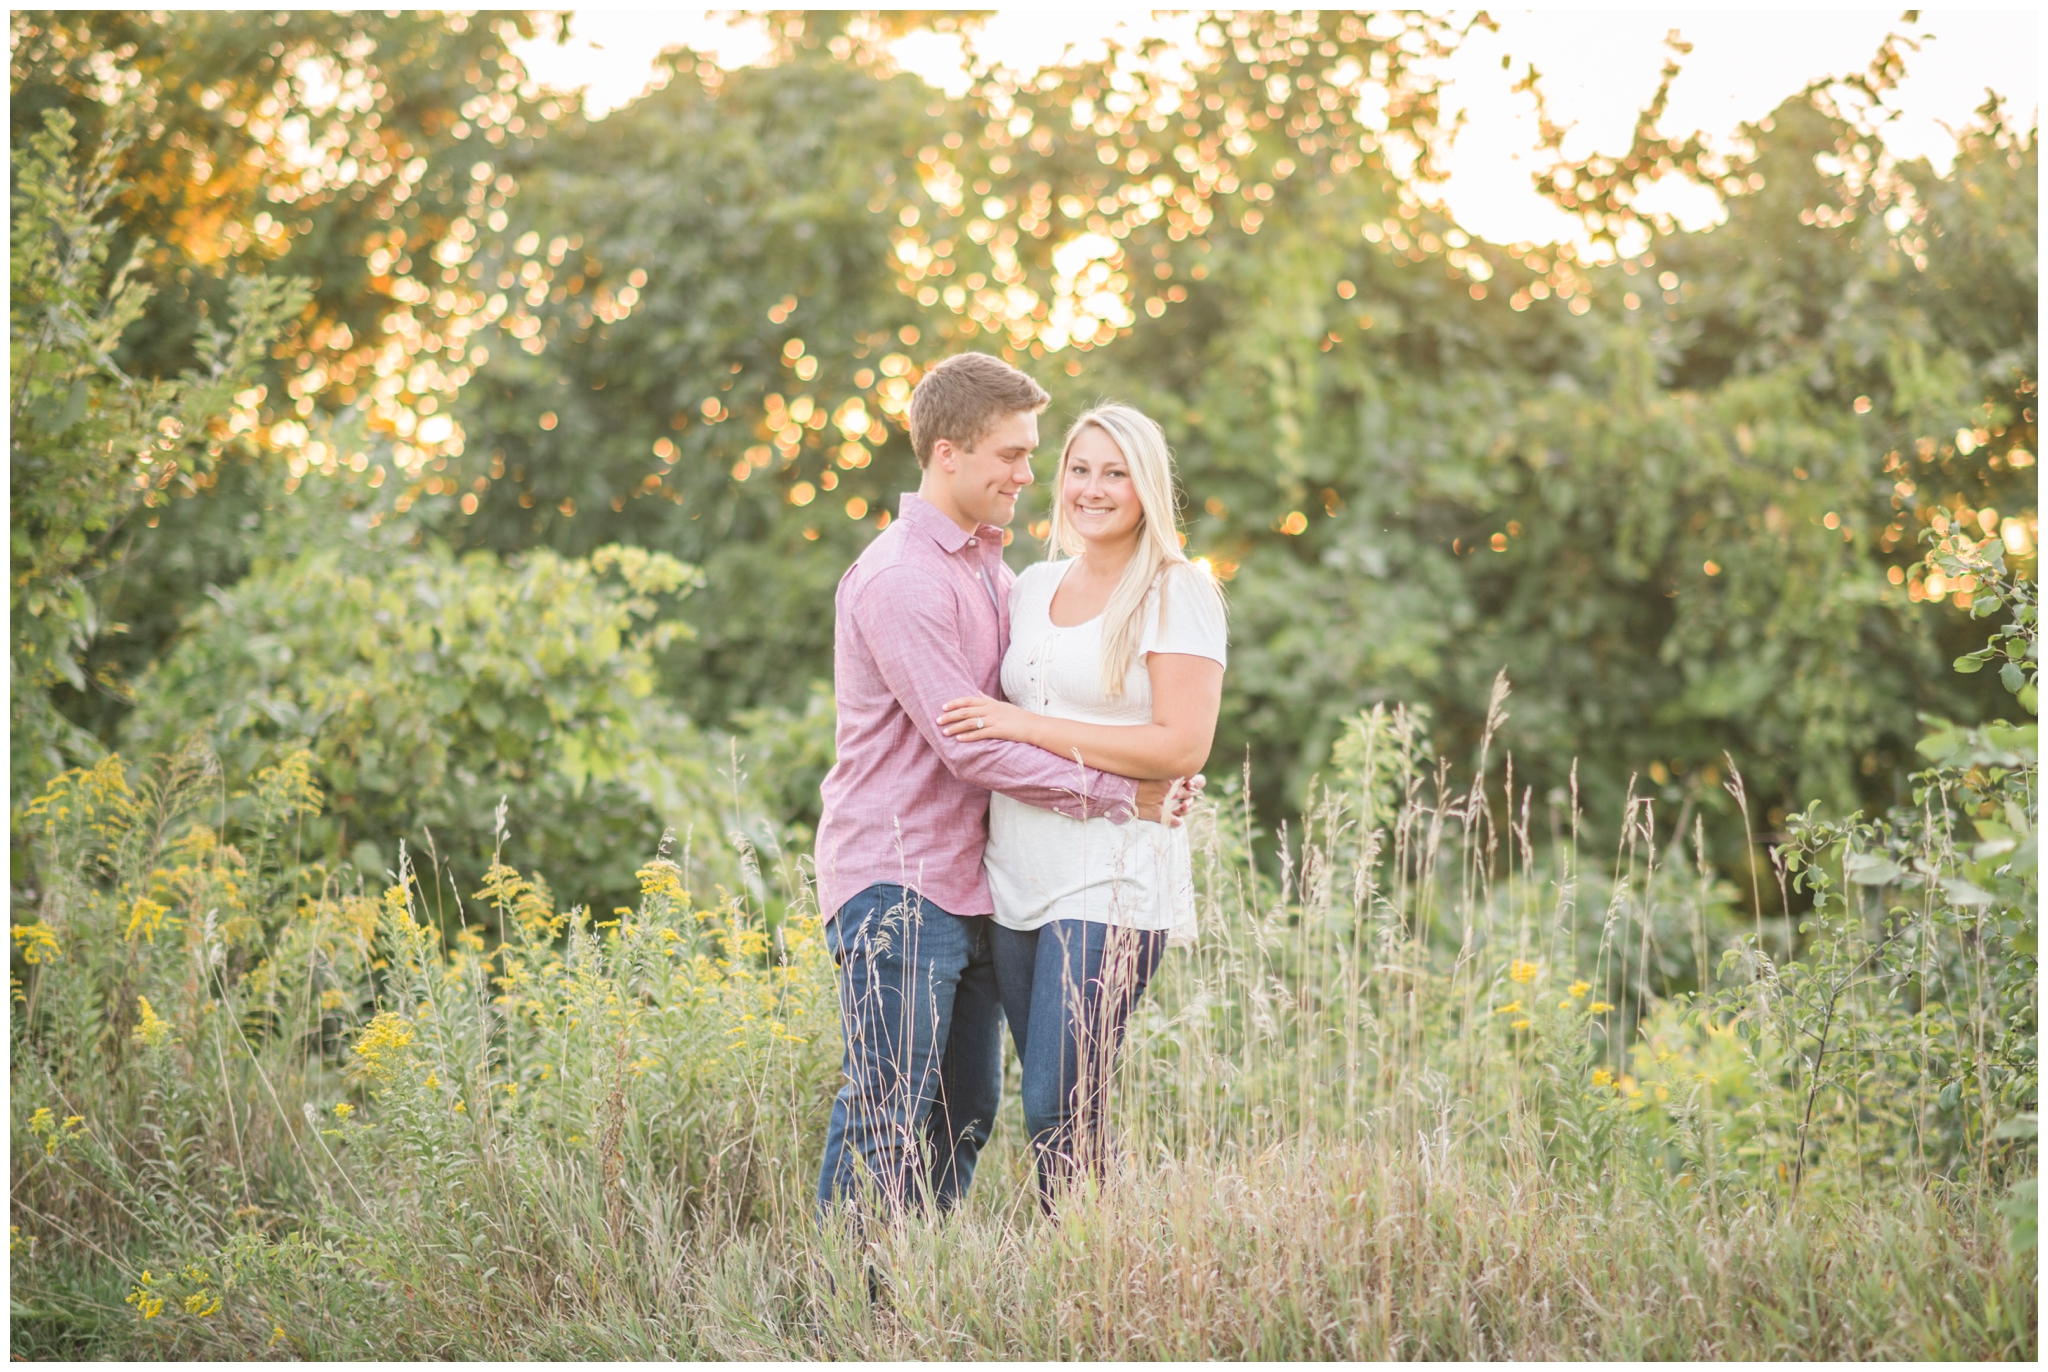
1.) Always pop the leg closest to the camera. Why do we hate our photos? Generally it is because we look so flat, standing there staring directly at the camera. I am a visual person, so I tend to see that as posing like rectangle, when we really should have a little twist to our bodies. When standing for photos, try to angle yourself slightly, and then bend the knee slightly to “pop” the leg. This throws your weight backwards, creating a more flattering silhouette. Gentlemen, this may seem more feminine…and you’re right. I recommend you pointing your feet towards 4 or 5 o’clock and then twist back towards the camera. That will work wonders for you!
2.) Try to be a little higher than the subject. Let’s say you are taking a family photo; use elevation to your advantage. Use a park bench or a picnic table, or even place your subject at the bottom of the hill and head up it yourself a little ways…anything to get you a little bit above will work wonders on the final product.
3.) Know the light like the back of your hand. Literally, use the back of your hand to find the direction of the light. Stick your arm out in front of you, and spin around slowly, watching how the light and shadows change as you move. Those shadows will determine where you will want to stop and take the photo. On a sunny day, you may want to have your subjects stand in front of you when your hand is dark (to avoid squinting); on an overcast day, you may wish you have them stand in front of you when your backhand is brighter to avoid weird face shadows.
These are not a perfected science, but enough practice has taught me that they are pretty close. The next time you find yourself in front of the camera, be it professional or impromptu, try these to see if we can change those famous last words into a exclamations of “That wasn’t so bad! It was actually FUN!”
Looking for more inspiration? Get your hands on the FREE engagement session mini guide! Pages of tips, tricks, and to-dos to dominate your e-sesh! Click here to get your copy!